
Adjustment of different can diameters: When sealing can bodies of different shapes, the host should be replaced with corresponding profiling wheels, pressure heads and can holding molds, and then adjust the others.
1.Adjustment of the host:
Adjustment of the wheel:
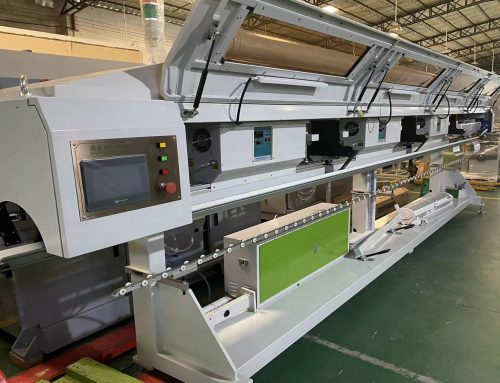
Since this equipment is an eight-roller can seaming machine, four first rollers and four second rollers, the sealing of the can body and lid must go through the first and second rollers multiple times. The position of the sealing roller should be adjusted when sealing the can, and the adjustment bolts of the plane support on the tray can be adjusted according to the diameter of the sealing can (see Figure 2). Just loosen the locking bolt first, and then loosen the nut on the adjusting bolt, then the adjustment can be carried out. Twist the adjusting bolt to adjust the position of the sealing roller to any position within the allowable use range. After adjustment, it can be tightened again, and the adjustment is very convenient. In the specific operation, first adjust the second roller and adjust the first roller. Note that the radial adjustment dimensions of the four rollers in the first track should be the same until the product is properly sealed. Sign to exit. Use the same method to adjust the second roller. After adjustment, restore the position of the first track roller and try sealing again.
Adjustment of tank height:
a: The top of the machine is equipped with an elevator to connect the machine head. The entire head part (sealing and sub-cap part) can be moved up and down. Note: Just loosen the locking mechanism on both sides of the head, and then press the head up and down adjustment keys on the operation panel to the position you need. After adjustment, reset the locking mechanism. Must be reset. Otherwise, the machine cannot be started.
b: The holding mold should also be adjusted according to the height of the can body. As long as the outer shape of the can lid and the inner diameter of the can body are the same, and the height of the can body is different, the support rod can be moved up and down by loosening the bolts of the clamping block on the can holding mold. The upper holding tank mold can be adjusted arbitrarily within the allowable range. Of course, if the tank type is different, then the holding tank mold must be changed.
2: Adjustment of positioning claw:
The can body positioning claw is installed on the conveying rack under the sub-lid base to accurately hold the can position. The holding mold must first determine the sealing position: hold a can body with the lid placed under the pressure head with the holding mold, and align it with the pressure head. After determining this position, fix the sensor switch next to the moving skateboard. Then move the tank holding mold to the left to a suitable position, that is, the holding tank position, and then adjust the position of the positioning claw and move the sensor switch at the other end of the sliding plate. All fixed.
3: The tension of the belt
On the top of the machine, remove the pulley cover, and there is an adjustment bolt on the bottom plate where the motor is installed. Just loosen the fastening bolt on the bottom plate to adjust.

