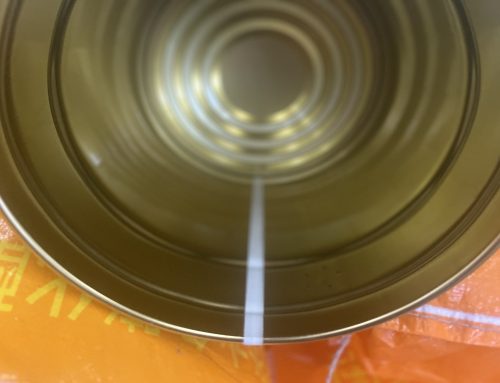
① Misalignment of coating strips: Caused by improper adjustment of the can conveyor or poor connection between two conveyors, which allows the can body to rotate on the conveyor. This prevents the nozzle or inner roller from aligning with the weld seam, resulting in misaligned coating strips and reduced protective effect (see Fig. 3-87). Solution: Carefully adjust the conveyor so that the can moves smoothly without rotation.
② Four types of abnormal conditions:。
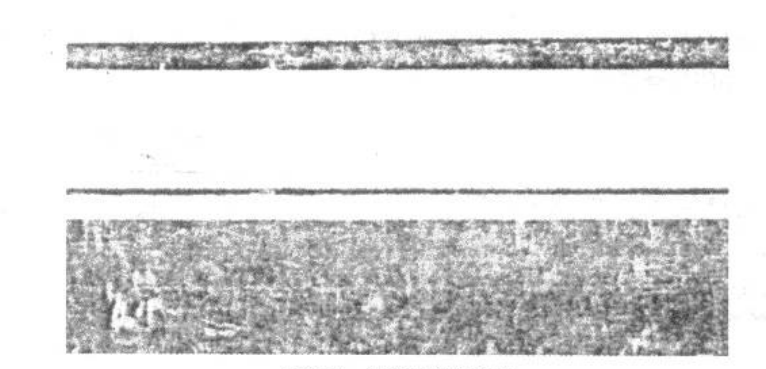
Figure 3-87 The recoating tape is off-center
Common Issues in Baking and Curing of Liquid Coating Strips (continued)
Coating too thin after curing:
Cause: The wet coating thickness is normal during application, but the cured coating is thin because the solid content of the liquid coating is too low.
Solutions:
Increase the solid content of the coating or raise its viscosity.
For roller coating, select a roller with a thicker coating curve.
For spray coating, slightly increase the coating pump pressure, raise the heater temperature, or switch to a larger nozzle.
Reduce the conveyor speed of the cans.
Porous coating (micro-bubbles) after curing:
Cause: Curing occurs too quickly, causing the coating to boil and form bubbles or blister-type micro-pores.
Solution: Slow down the curing process by reducing the conveyor speed of the curing equipment and lowering the temperature of the pre-heating section of the oven, allowing the heat to rise gradually.
Bubbles in the coating:
Cause: Bubbles form if the solvent has not fully evaporated or during spraying; if the curing is too fast, the surface layer begins to cure while solvent continues to evaporate, or trapped bubbles from the coating are not removed. Using incorrect solvents (e.g., regular paint thinner or adhesives that evaporate slowly) can also cause bubble formation during curing, which is difficult to eliminate (see Fig. 3-89).
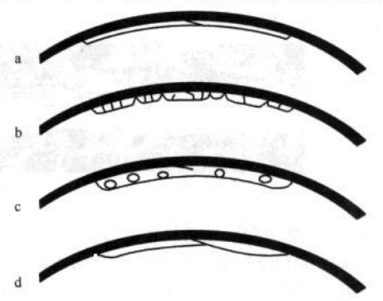
Figure 3-88 Abnormal coating after curing
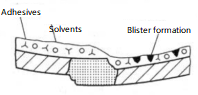
Figure 3-89 Bubbles forming on the coating surface
Sometimes bubbles form on the weld, as shown in Figure 3-90. This is because the weld is too hot and the coating viscosity is a bit high. Solution: Add a cooling device after welding or reduce the viscosity slightly.
d. Poor coverage of the weld area at the edge of the tinplate: The quality of the weld significantly affects the protection of the liquid coating. Causes and solutions for this problem: i. Weld spatter. Slightly increase the weld overlap or reduce the welding current to smooth the weld and facilitate recoating; ii.Insufficient coating viscosity. Solution: Increase the coating viscosity and increase the coating temperature accordingly.
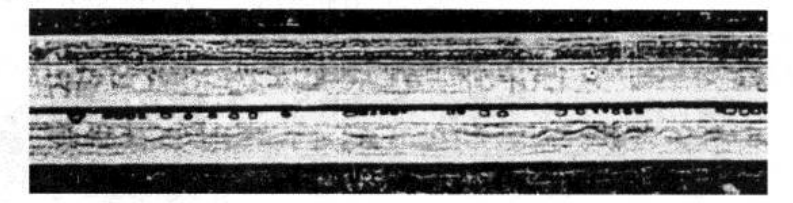
Figure 3-90 Bubbles forming on the weld
③Overspray. There is some overspray on the outside of the weld patch, which will affect the appearance (see Figure 3-91 and Figure 3-92). Sometimes these paints are not easy to solidify. Causes and solutions: The viscosity of the liquid paint is too low and the viscosity should be increased; ii. The nozzle model is wrong, that is, the spray width of the selected nozzle model is too narrow, resulting in a distance from the nozzle to the weld being too far, causing the atomized paint to scatter to other parts of the tank body. Choose the correct nozzle model.
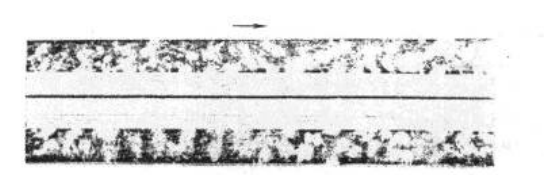
Figure 3-91 Overspray
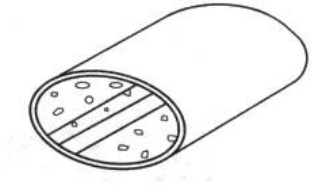
Figure 3-92 Paint splash points inside the can
④Splashing. The recoat strip is too thin, with splashing at both ends (see Figure 3-93). Causes and solutions: i. Spray pressure is too low or the pipeline is clogged. Increase the pressure. Check the pipeline. i. Paint viscosity is too high. Reduce the viscosity and increase the paint heater temperature. ii. The nozzle is too close to the can. Adjust the nozzle higher.

Figure 3-93 Splashing